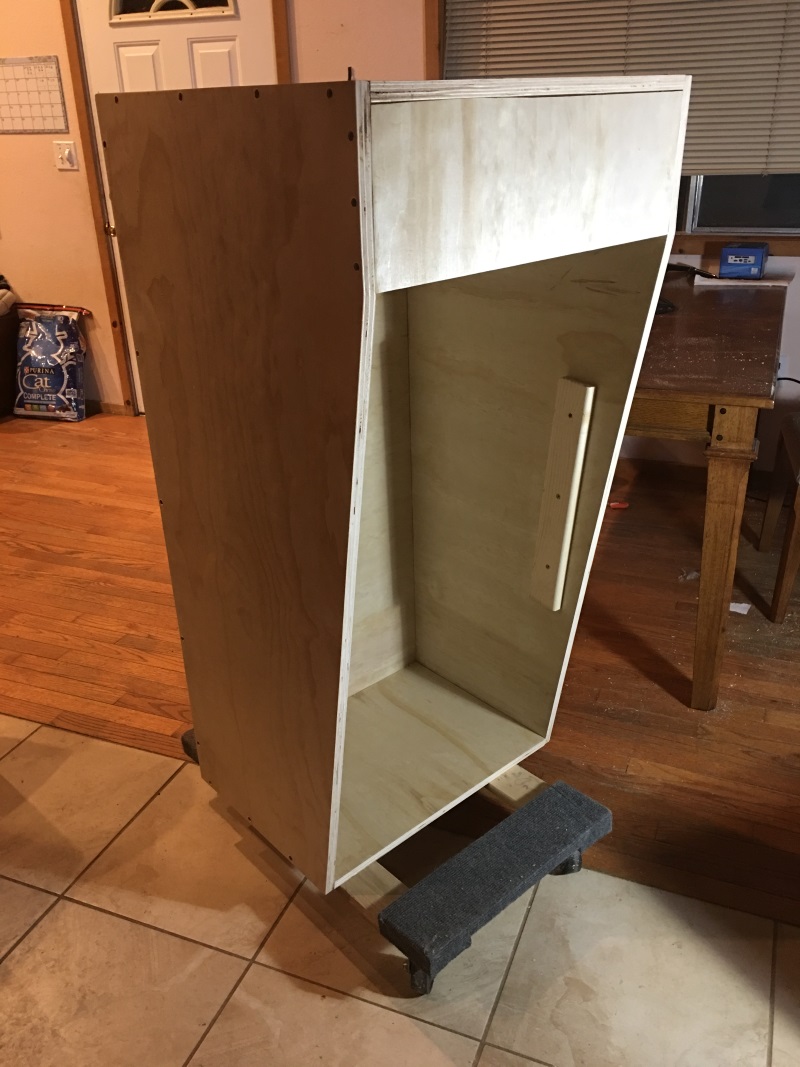
Well, it has started snowing again outside, so I moved the build into the house. Here's how I've been moving it around:
OK, I forgot to feed the power cord through the case when I put it together (learning!) so I had to cut a hole for it.
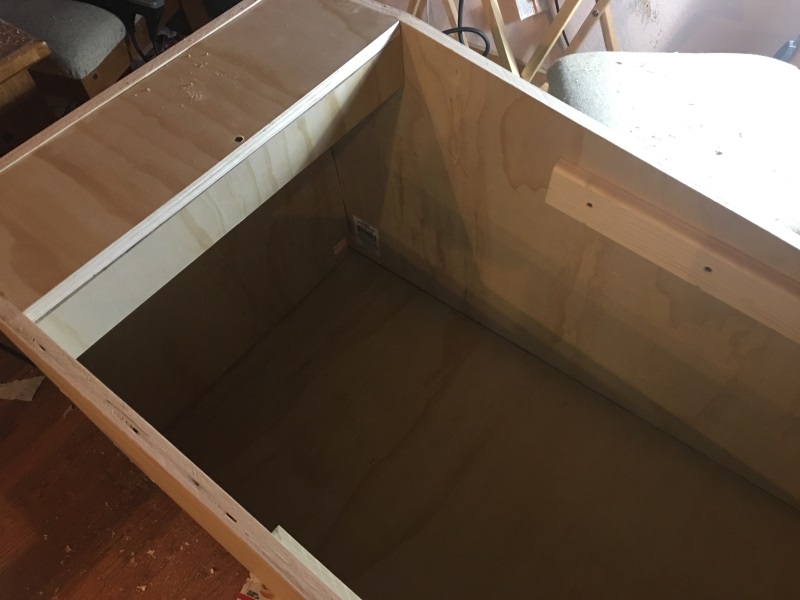
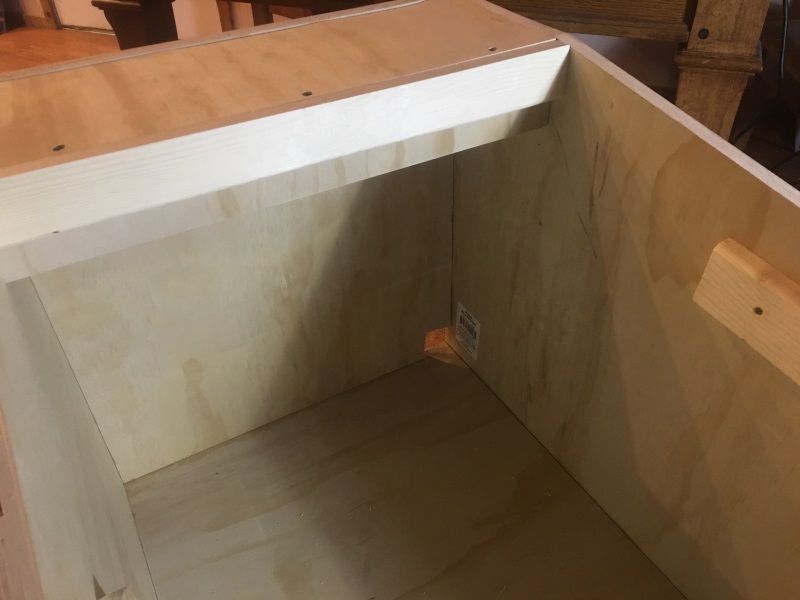
When I was cutting out pieces D, E, and F, I had a couple of inches left over. I'll be using that piece to create a backstop for the top of the monitor. The left over piece was already the right width and height.
Next, I'll put a small piece of wood across the top to hold the playfield monitor in place.
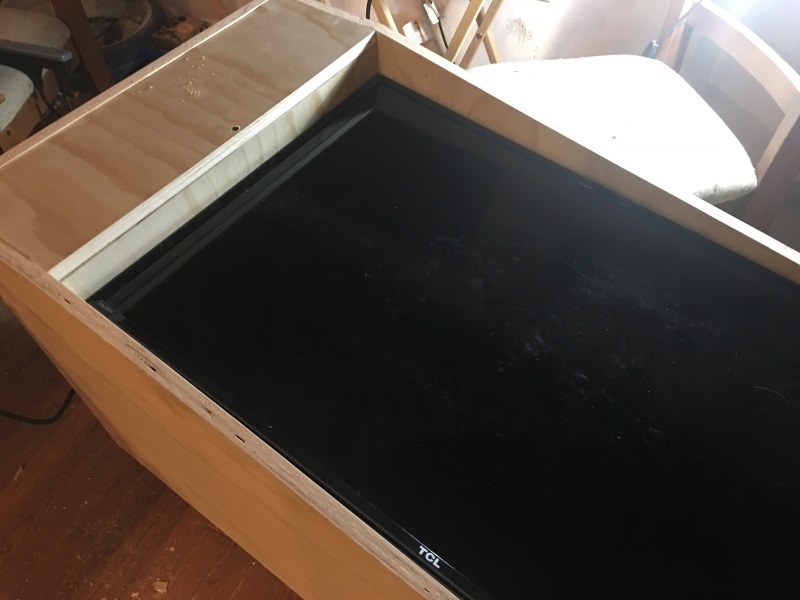
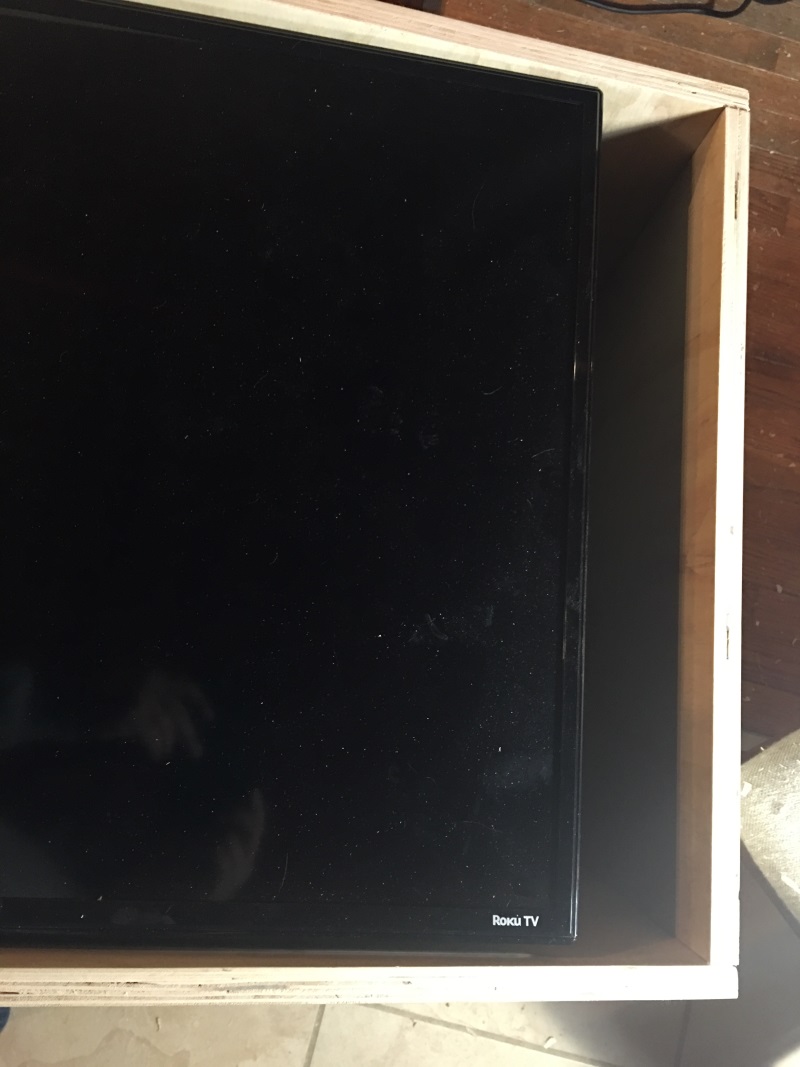
Yup, it will fit.
Eventually, I'll put a piece of rubber behind the monitor to keep it snug.
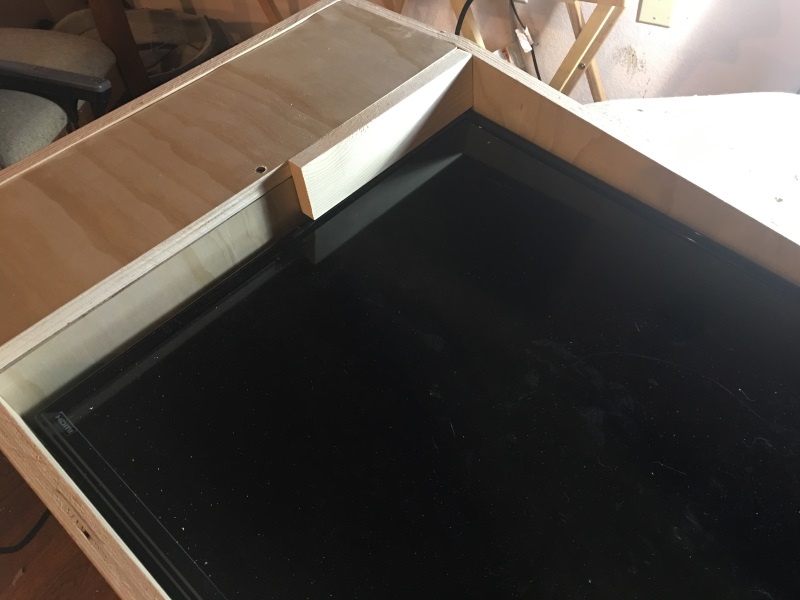
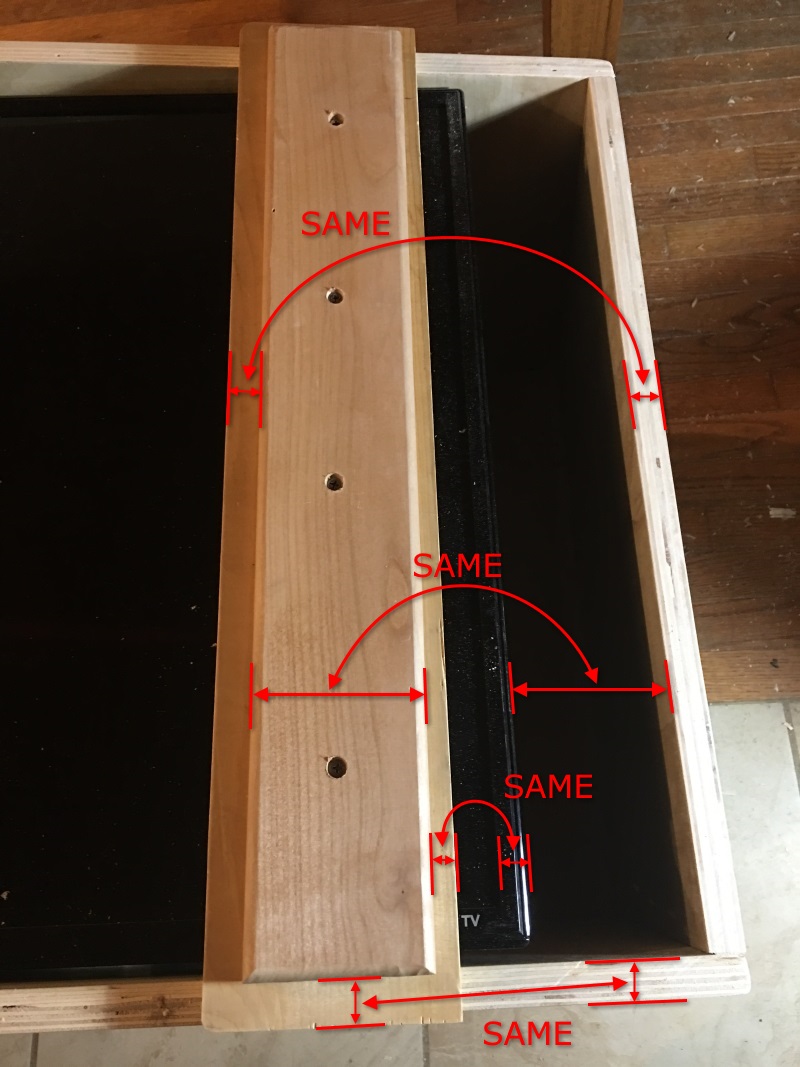
Next, on to the other end of the machine. I need to come up with some sort of "lockbar" to keep the monitor in place.
I cut a board to fit exactly between the monitor and case, then cut a larger piece of wood to go on top of it. I used the router to curve out all the edges. I attached both pieces of wood together.
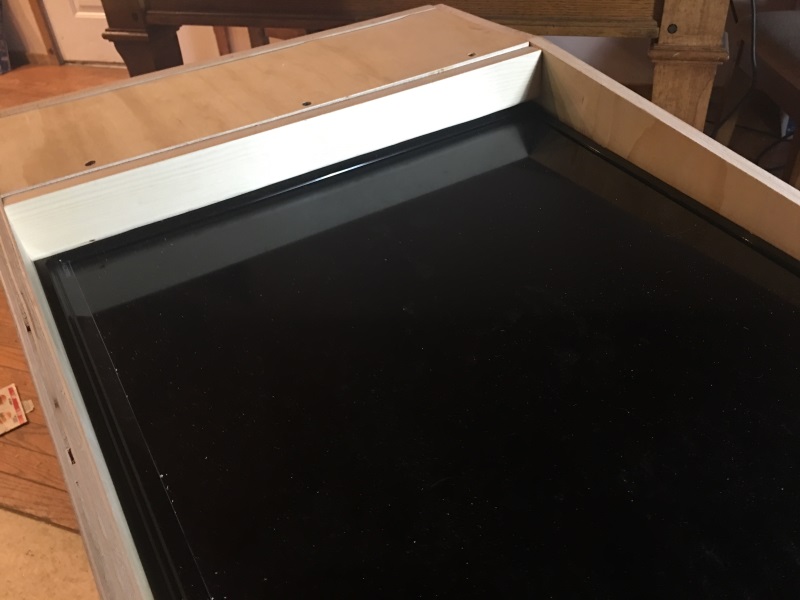
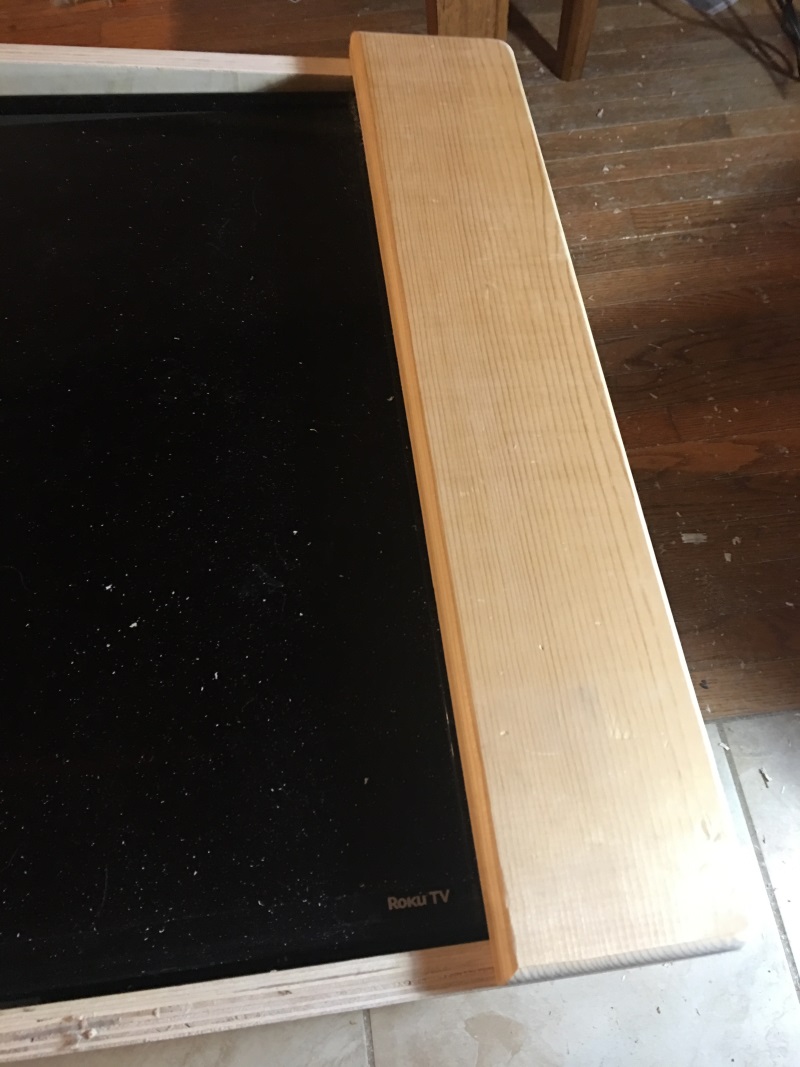
After I verified that it fit perfectly...
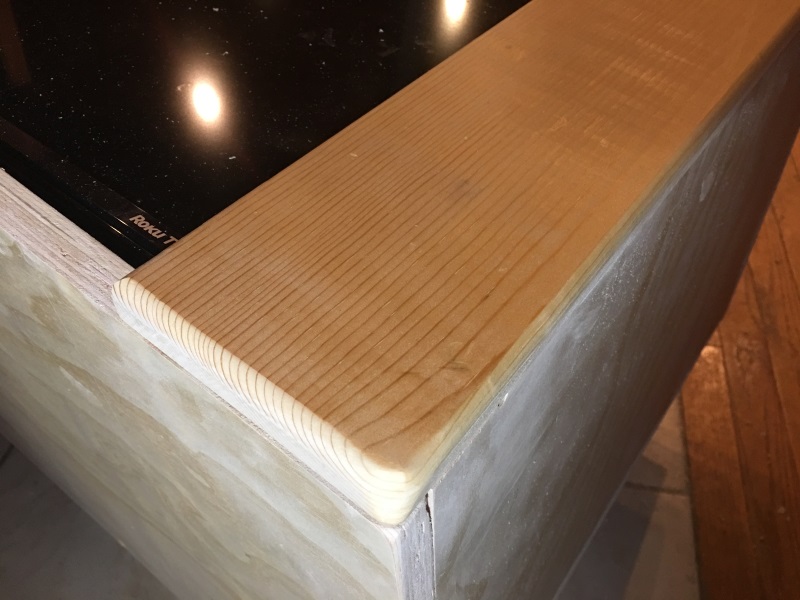
I used the router again to make the corners even more rounded. This is very important to get this right as your hands will be touching these corners as you play the game.
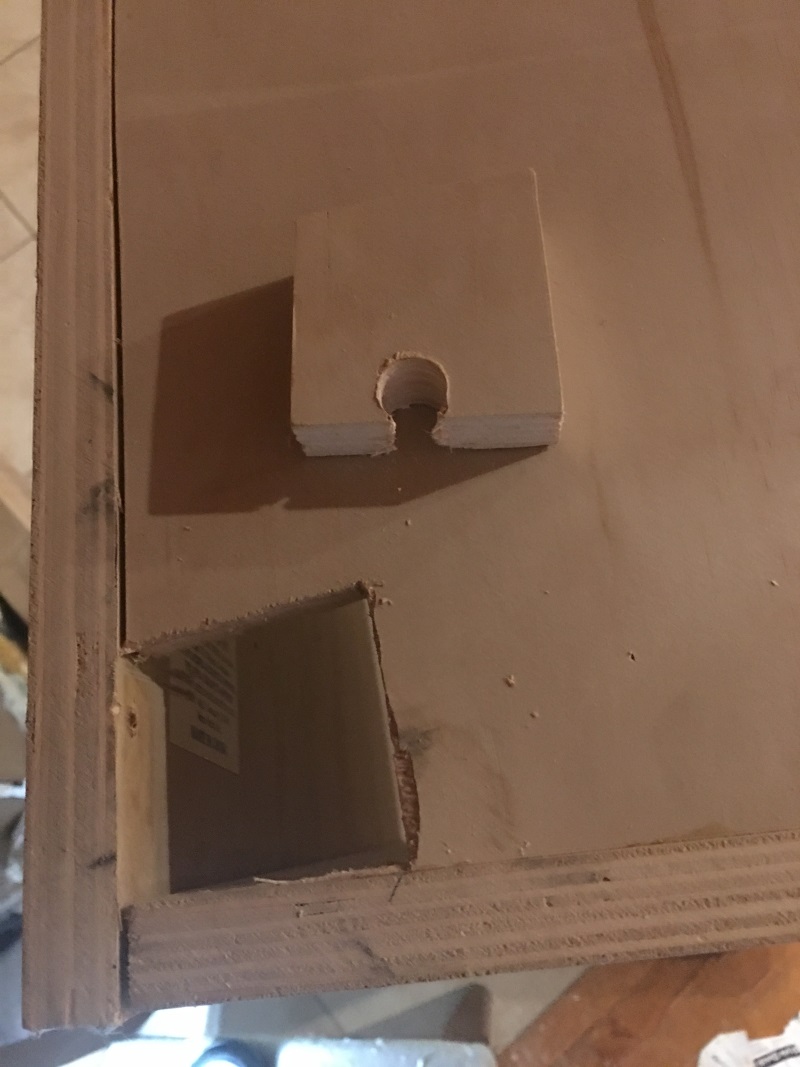
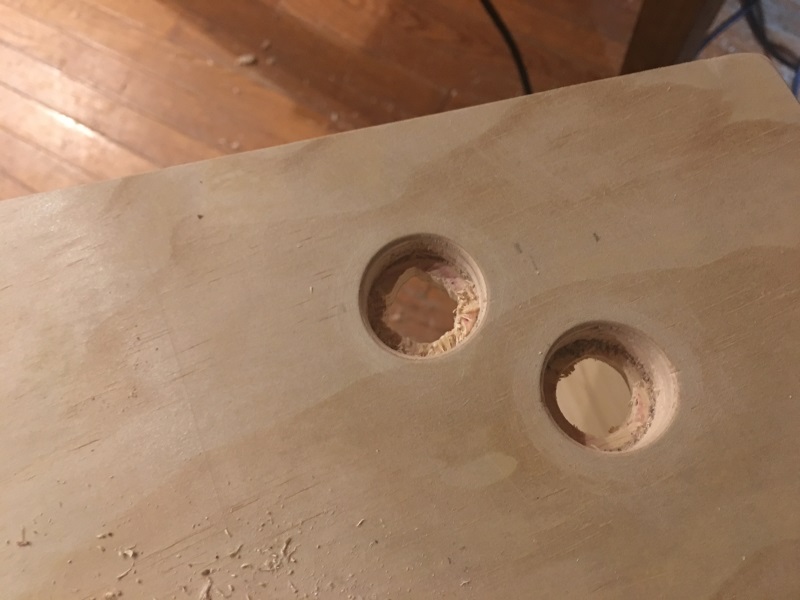
Next up, I'm starting to drill the holes for the buttons. Here's where I really wish I had some expensive tools. I could have really used a drill press to make these holes better. Of course, no one will see them, but still!
These holes had to be larger until about half way through the wood, then smaller for the final part. The upper hole is for the flipper button and the lower hole is for the "magna save" buttons. I fit it to my hand. I'll be pressing the flipper buttons with my middle fingers and the other buttons with my ring and pinky fingers.
I did this on both sides. Next I'll be working on the front panel holes for the Coin In, Start, and Exit buttons.
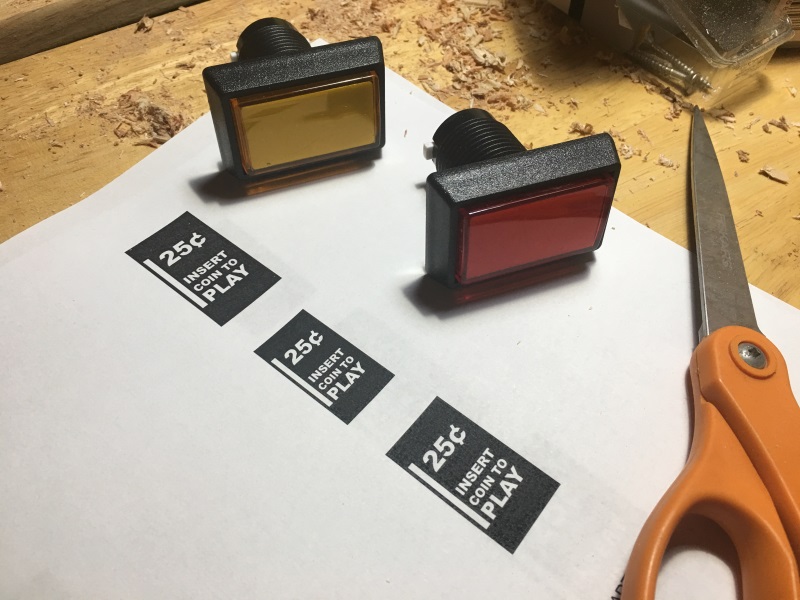
When I purchased the "button kit", I wasn't sure what I was going to do with the big rectangle buttons. Then, I had an idea...
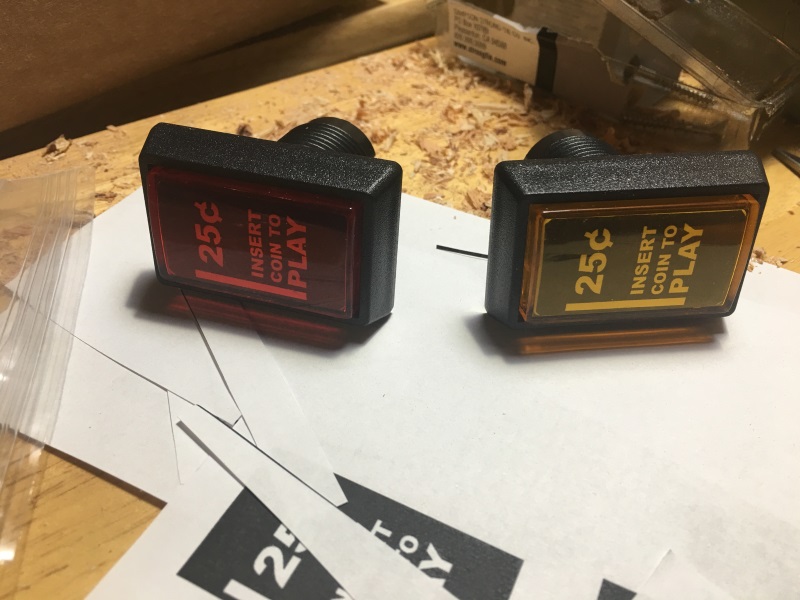
I typed up a simulation of a coin slot and printed it on the laser printer. The buttons were easy to take apart and slip the paper into place.
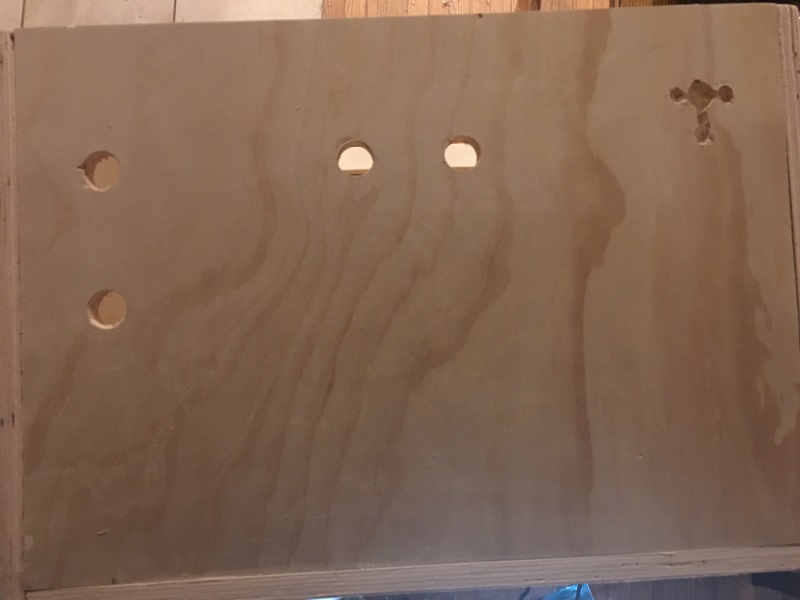
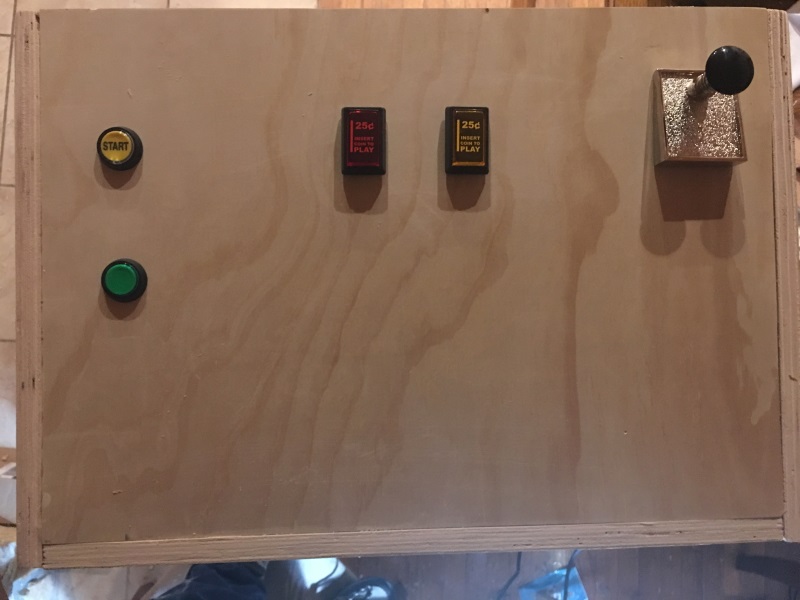
Next, I drilled the front panel holes for the "start" button, "exit" button, the two "coin in" buttons, and the plunger.
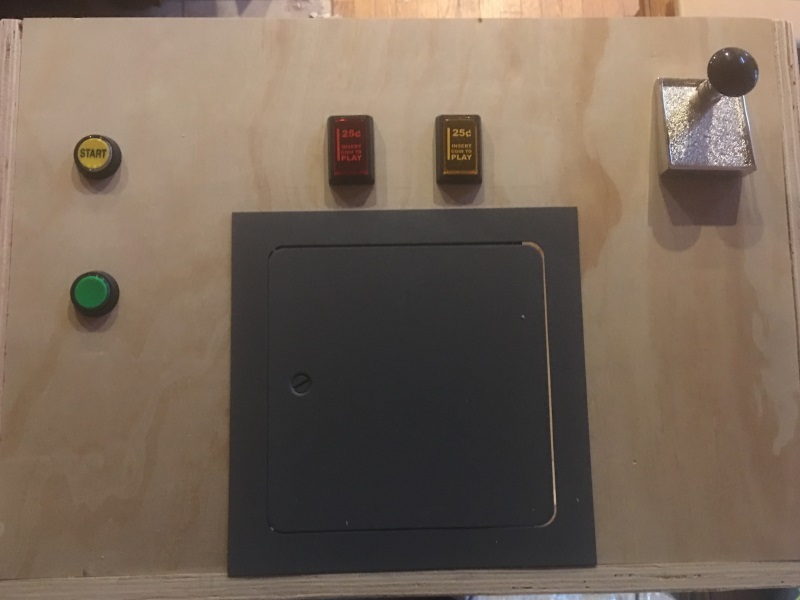
Here's how it looks with the buttons in place.
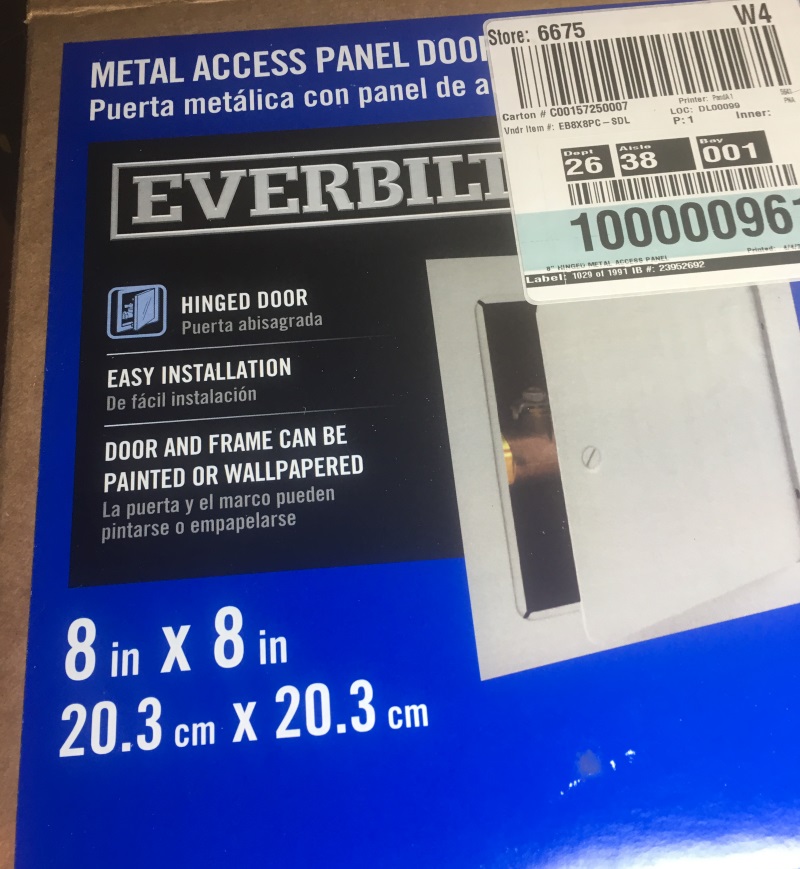
Next, I'll be putting an access panel below the two "coin in" buttons.
I was going to buy a real pinball front panel door, but I just couldn't justify spending $60+ for it. I got this metal door at Home Depot for $19 instead.
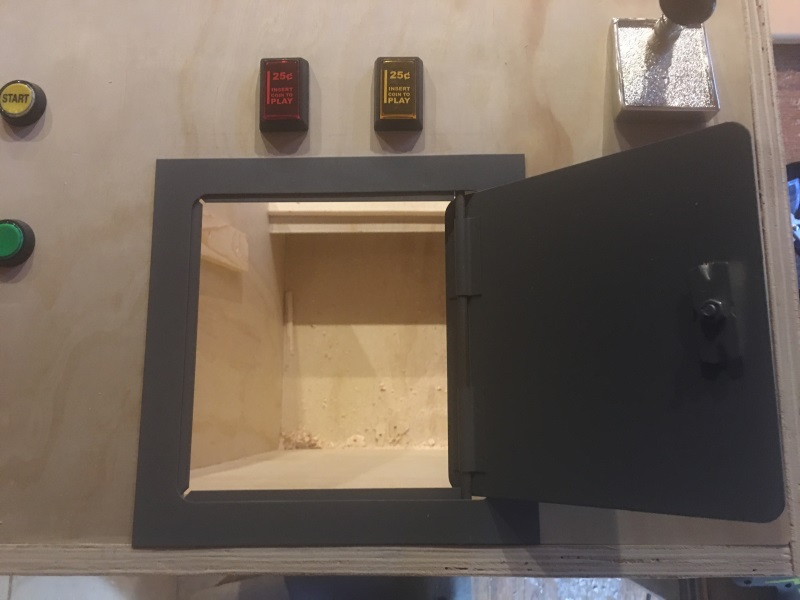
I was thinking of putting the buttons on the access door itself, but I don't have any metal working tools and the door/frame I bought was metal.
I started out by drilling a 1" hole near one of the corners. Then, I used the jig saw to cut out the space for the door. This doesn't have to be perfect because the metal frame will cover any imperfections in the cut-out.
It is almost time for me to paint the cabinet. In fact, I picked up some spray cans from the store today (4 cans at about $4/can--2 black, 1 white, 1 sky blue). But, first I need to figure out my backglass...
News
Sudoku 1.2 Released (April 19, 2026)
Solve sudoku puzzles for fun! Over 280 puzzles at all levels included. More...
CodeLab 6.13 Released (November 17, 2024)
This latest release of CodeLab for Paint.NET includes the
ability to write GPU accelerated plugins. More...
Double-Six Dominoes 3.1 (May 10, 2021)
This long-awaited refresh of the most popular dominoes game
on Download.com is now available! More...